
How to Apply DTF Transfers at Home: Step-by-Step Guide
Custom apparel design has exploded in popularity thanks to innovative printing methods that make it easier than ever to bring creative ideas to life. Among the latest and most versatile options is Direct-to-Film (DTF) transfer printing. Unlike traditional methods such as screen printing or vinyl, DTF transfers are durable, vibrant, and simple enough for anyone to apply at home with the right tools.
In this guide, we'll walk you through everything you need to know about applying DTF transfers from the comfort of your home, from preparation to finishing touches, so you can create professional-quality results without needing an industrial setup.
What Are DTF Transfers?
DTF transfers are heat-applied designs printed onto a special film using a DTF printer and adhesive powder. The design is then pressed onto fabric using heat and pressure. The result is a vibrant, long-lasting print that works on a wide variety of fabrics, including cotton, polyester, blends, and even darker textiles.
Some key advantages of DTF transfers include:
- Durability: Wash-resistant and long-lasting.
- Versatility: Works on a wide range of fabrics without requiring pre-treatment.
- High detail: Perfect for complex designs with gradients and fine lines.
- Easy application: Requires minimal equipment compared to other printing methods.

What You'll Need to Apply DTF Transfers at Home
Before you start, make sure you have the right tools and materials on hand:
- DTF transfer print (ordered online or printed if you own a DTF printer)
- Heat press (recommended) or a household iron (less ideal but usable)
- Protective sheet (parchment paper or Teflon sheet)
- Garment of choice (washed and wrinkle-free)
- Flat, heat-resistant surface
Optional but helpful:
- Heat-resistant tape to keep the transfer in place
- A lint roller to clean the fabric
Step-by-Step Guide to Applying DTF Transfers
Step 1: Prepare Your Workspace
Choose a clean, flat, and stable surface for working. Make sure your garment is pre-washed to remove any sizing, dirt, or oils that could interfere with adhesion. If you're using a heat press, set it up in a safe, well-ventilated area.
Step 2: Preheat Your Heat Press (or Iron)
Heat press: Set the temperature to around 300–325°F (150–160°C), depending on the transfer instructions.
Iron: Use the highest cotton setting, but make sure to turn off the steam function.
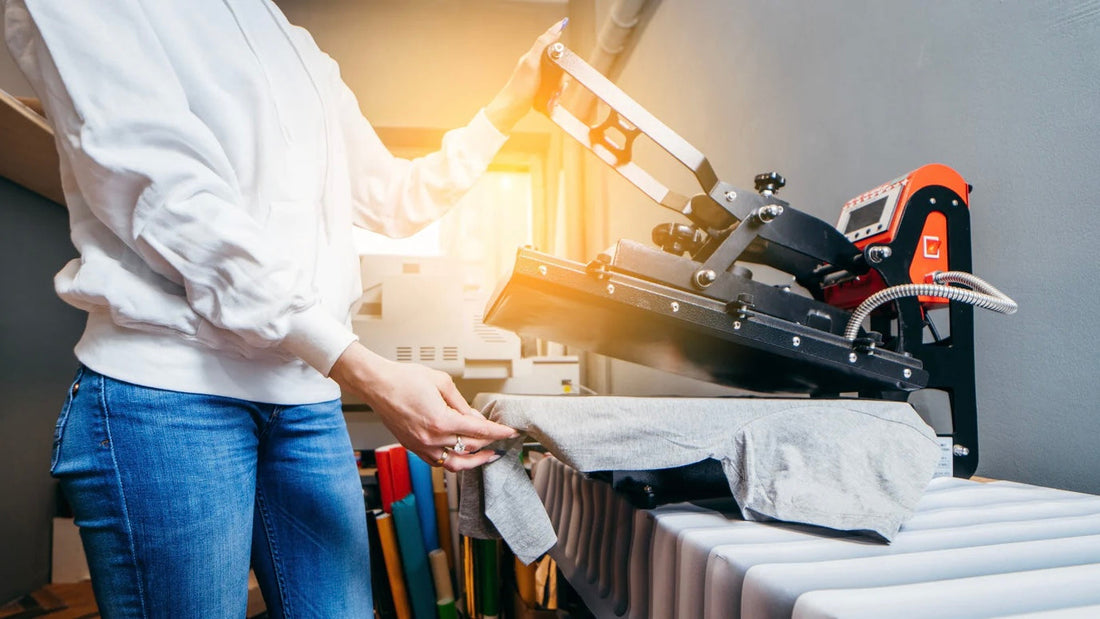
Step 3: Position the Garment
Lay the garment flat on your pressing surface. Use a lint roller to remove dust, lint, or stray fibers that might affect the transfer.
Step 4: Pre-Press the Fabric
Before applying the transfer, pre-press the garment for about 5 seconds. This step removes moisture and smooths out wrinkles, creating an ideal surface for adhesion.
Step 5: Position the DTF Transfer
Place the DTF film transfer design side down onto the garment in your desired location. Use heat-resistant tape if necessary to hold it in place. Double-check alignment—once applied, it's permanent!
Step 6: Apply Heat and Pressure
With a heat press: Press firmly for 15–20 seconds at the set temperature. Use medium-to-firm pressure.
With an iron: Place a protective sheet (such as Teflon or parchment paper) over the transfer. Press firmly in sections, holding for 15–20 seconds each, making sure to cover the entire design evenly. Avoid moving the iron around, as this can cause ghosting.
Step 7: Peel the Film
Allow the garment to cool slightly before peeling. DTF transfers can be either hot peel or cold peel, depending on the manufacturer's instructions:
- Hot peel: Remove the film immediately while the product is still warm.
- Cold peel: Let the garment cool completely before peeling.
Peel slowly and steadily to reveal the design. If parts of the print aren't sticking, reapply heat for a few more seconds.
Step 8: Final Press (Optional but Recommended)
For extra durability, cover the design with a protective sheet and press again for 5–10 seconds. This seals the design into the fabric and enhances wash resistance.

Common Mistakes and How to Avoid Them
- Not pre-washing the garment → Oils and residue can prevent adhesion.
- Incorrect temperature or time → Too low, and the design won't stick; too high, and it may scorch the fabric.
- Moving the iron around → Always apply firm, even pressure instead of sliding.
- Peeling too soon → If it's a cold peel transfer, wait until it's cooled completely.
- Skipping the final press → Without this step, your design may crack or peel after washing.
Caring for Your DTF-Printed Garments
To keep your custom designs looking fresh:
- Wash inside out in cold water.
- Avoid bleach and harsh detergents.
- Tumble dry on low heat or air dry.
- Do not iron directly over the design.
Following these care tips will help maintain the vibrant colors and durability of your DTF prints.
Why Choose DTF Transfers for Home Projects?
For hobbyists, small business owners, or anyone wanting personalized apparel, DTF transfers strike the perfect balance between professional results and ease of use. Unlike sublimation (which requires polyester and light fabrics) or vinyl (which can feel heavy), DTF transfers are soft, versatile, and suitable for almost any fabric.
They're ideal for:
- Personalized gifts
- Team uniforms
- Branded merchandise
- Creative DIY fashion
- Wedding Favors

Final Thoughts
Applying DTF transfers at home is a simple yet rewarding process that allows anyone to create stunning custom garments. With the right tools, proper technique, and a little patience, you can achieve professional-quality prints without setting foot in a print shop.
Whether you're designing a one-off gift, experimenting with DIY fashion, or testing ideas for a small business, mastering the DTF transfer application opens up endless creative possibilities.
Ready to create your DTF transfer? Let's get started.